Technical
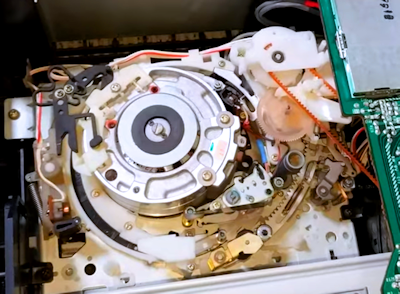 Head layout
|
Fault and repair guideStops in play or recordThis is becoming a more common problem these days. The first thing to check is that there is adequate torque on the take up spool. If there isn't much then the thing to do is to try to increase the foreword torque of the reel motor to compensate for wear. There is an adjustment for this on the servo PCB. This is the lower board in the machine. The adjustment needed is a yellow pot labelled 'FWD'. Turn this to maximise take up torque.If this fails to fix things then the next thing to try is replacing the pendulum assembly. This is the device that transfers drive from the reel motor to the cassette drive reels. It can become seized with age. Ultimately replace the reel motor bearing. This is moulded into the chassis and so replacement necessitates that the entire chassis be replaced. One possible compromise is to fit a small piece of plastic into the bottom bearing to raise the rotor and allow it to move freely. Sony supply a repair kit for this purpose. No head drum rotationYou may find that the head drum fails to rotate. This is due to a problem with the Hall effect device on the head drum motor which is secured by a blob of glue. Full details on how to fix this can be found on the head motor page.Deck goes into rewindThis can be caused by failure of the tape end sensor. You can check this by unplugging the sensor at its socket on the PCB.Failure to load a tapeThis is usually caused by a damaged carriage. However, if you are lucky then it may just be the plastic arm which stops the tape being inserted correctly that has become lose. Look for a white plastic arm on the right hand side of the carriage.Not recording soundThis is caused by failure of the bias oscillator. Symptoms to look out for are patterning on the video picture. Repair usually requires replacement of the bias transformer and associated capacitors. |
|
|
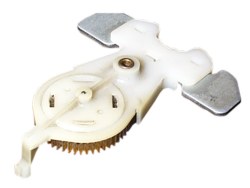
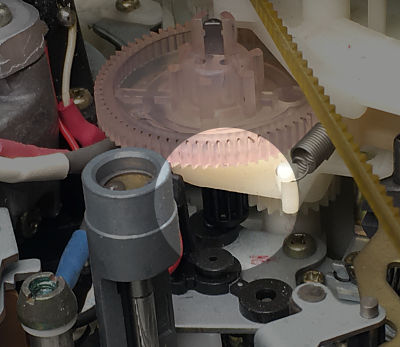
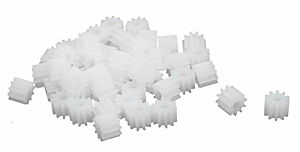
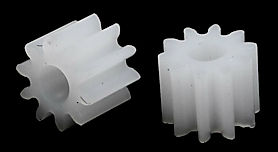
Loading gear and shaft repairThe loading shaft for the Sony has no official replacement but most times it can be repaired, unless the gear is in two pieces or a tooth has broken off. There are two approaches to solve this, either repair the broken gear, or purchase a similar gear and adapt it to fit.
In practice the diameter is sufficient and the reduced length does not really matter, just use super glue (or other suitable glue) to glue them to the shaft and protrude the shaft 1mm or so past the end.
See: RC-Toy-Car gears
If you don't need 50 then look for a smaller quantity but the price does not seem to change much. |
Quick fault guide
Please click on the button if you are able to contribute a solution to this list or would like to add to, or update PALsite's information on this model. Please note, questions will be removed.If you have a question about this model, please raise it on the chatpage.
| Fault | Solution |
|---|---|
| No head drum rotation, no picture (not even from tuner) | Check N20 ICP fuse where power supplies enter the main top PCB at the back left. |


